How to Install Clay Tile Roofing For Bamboo Buildings
By | June 14, 2022 | Construction -
A guide on how to install a clay tile roof for a bamboo building. In this article, we share the design parameters and construction techniques that need to be considered in order to build a strong and long-lasting roofing system.
1. Design Parameters
Tile roofs are one of the most durable roofing materials. They are, however, very heavy, even more so when it rains. This added load needs to be accounted for with a good structural design system.
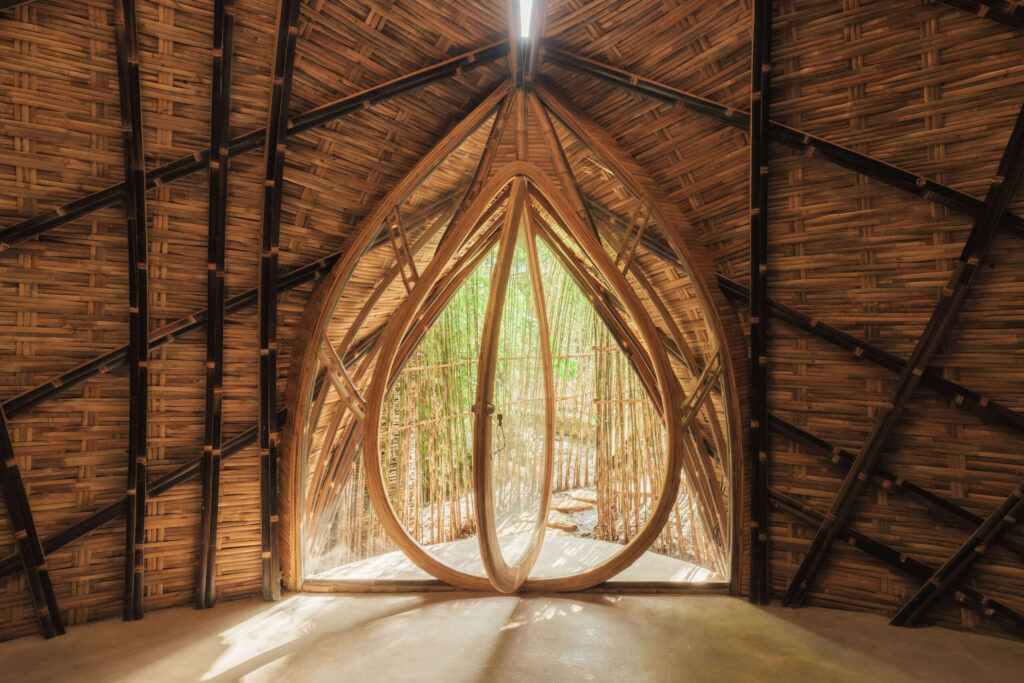
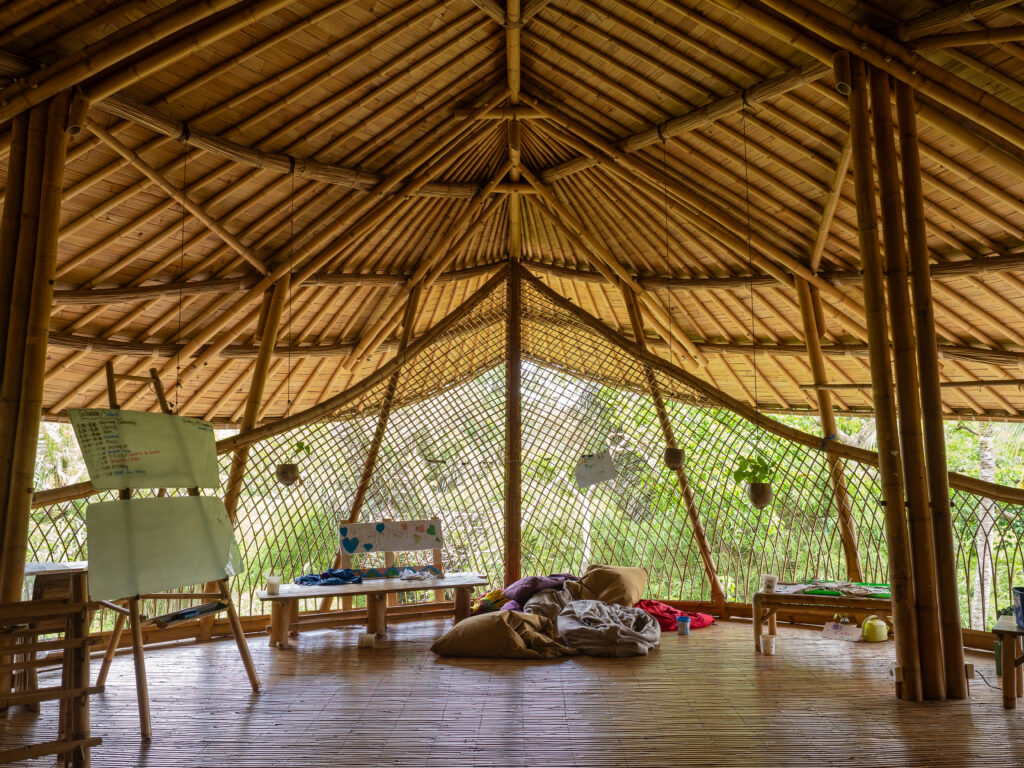
Tile roofs work well for linear-shaped post and truss structures with a minimum roof pitch of 35-degrees. This material will not work well for organic and curvilinear roofs. Furthermore, the position of the rafters is key to the structural integrity of this roofing system. Rafters must be placed no more than 30 cm apart and battens must be added to hold the tiles over the rafters.
2. Balancing Levels
Every bamboo pole is unique. Each pole is hollow, round, and tapering with an uneven shape and the diameter of the pole ranges from base to tip. So, when tiles are used as a roofing material, it is crucial to check and balance the levels at every stage of the construction process.
There are 6 steps to follow to ensure the building is leveled before the final installation of the clay tiles.
1. Place your foundations in the right position, according to the design, and ensure raised footings are balanced. There are few ways to get the foundations in the right positions and all the footings at the right level. Start with marking a centre of a foundation point at one corner of the building and also add another mark by offsetting a few centimeters away from the foundation towards the outside of the building line using a bamboo lath.
The first foundation point as a reference, temporarily marks all the foundation points that are linear & diagonal to the first foundation point according to the design measurements. Also, add the mark point using bamboo laths a few centimeters away from each foundation point similar to the first foundation point. Now add a thread connecting all the linear foundation points tied to the bamboo laths to the height of raised footings according to the design and cross-check the thread height at all the footings marked with water pass.
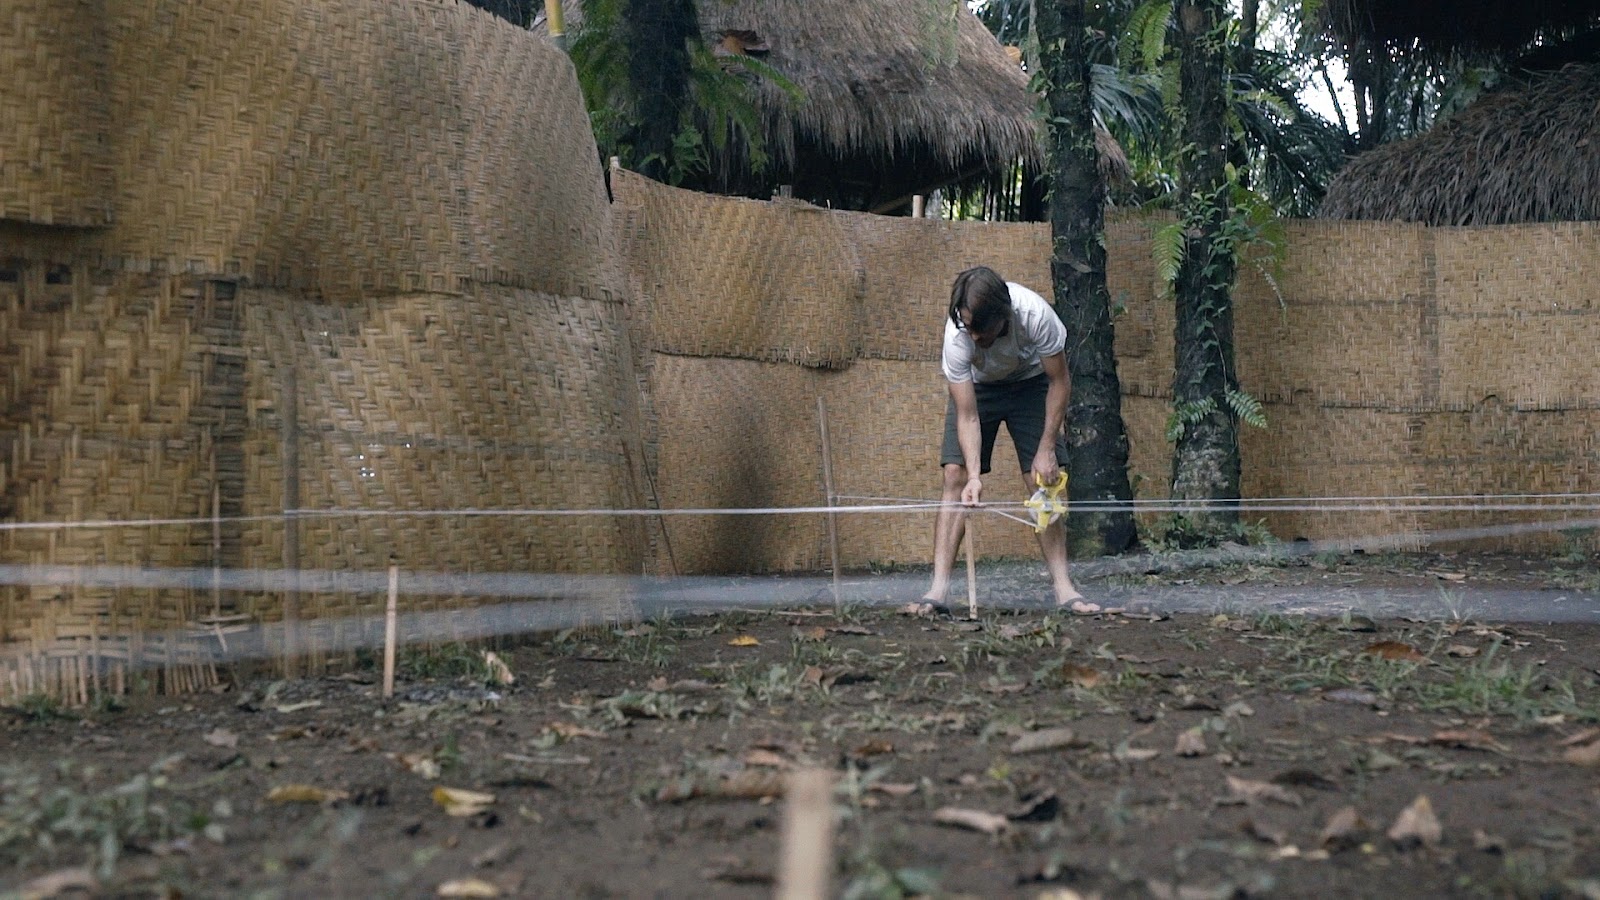
It is important to get the perfect right angles and alignments for rectangular buildings by cross-checking the markings using the Pythagoras formula (a²+c²=c²).

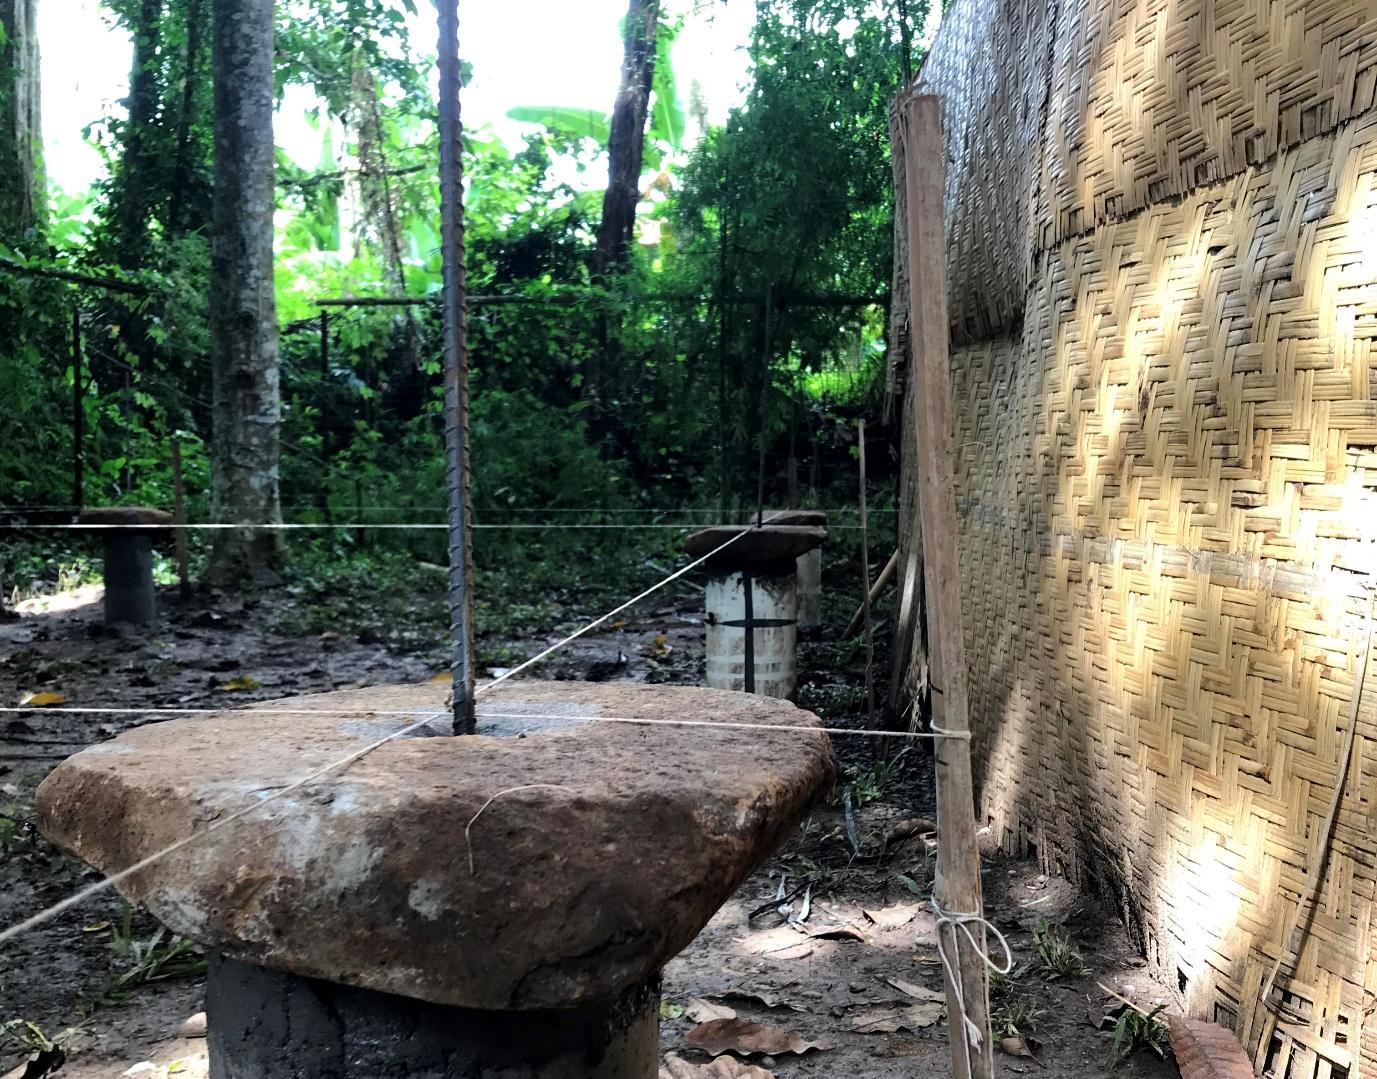
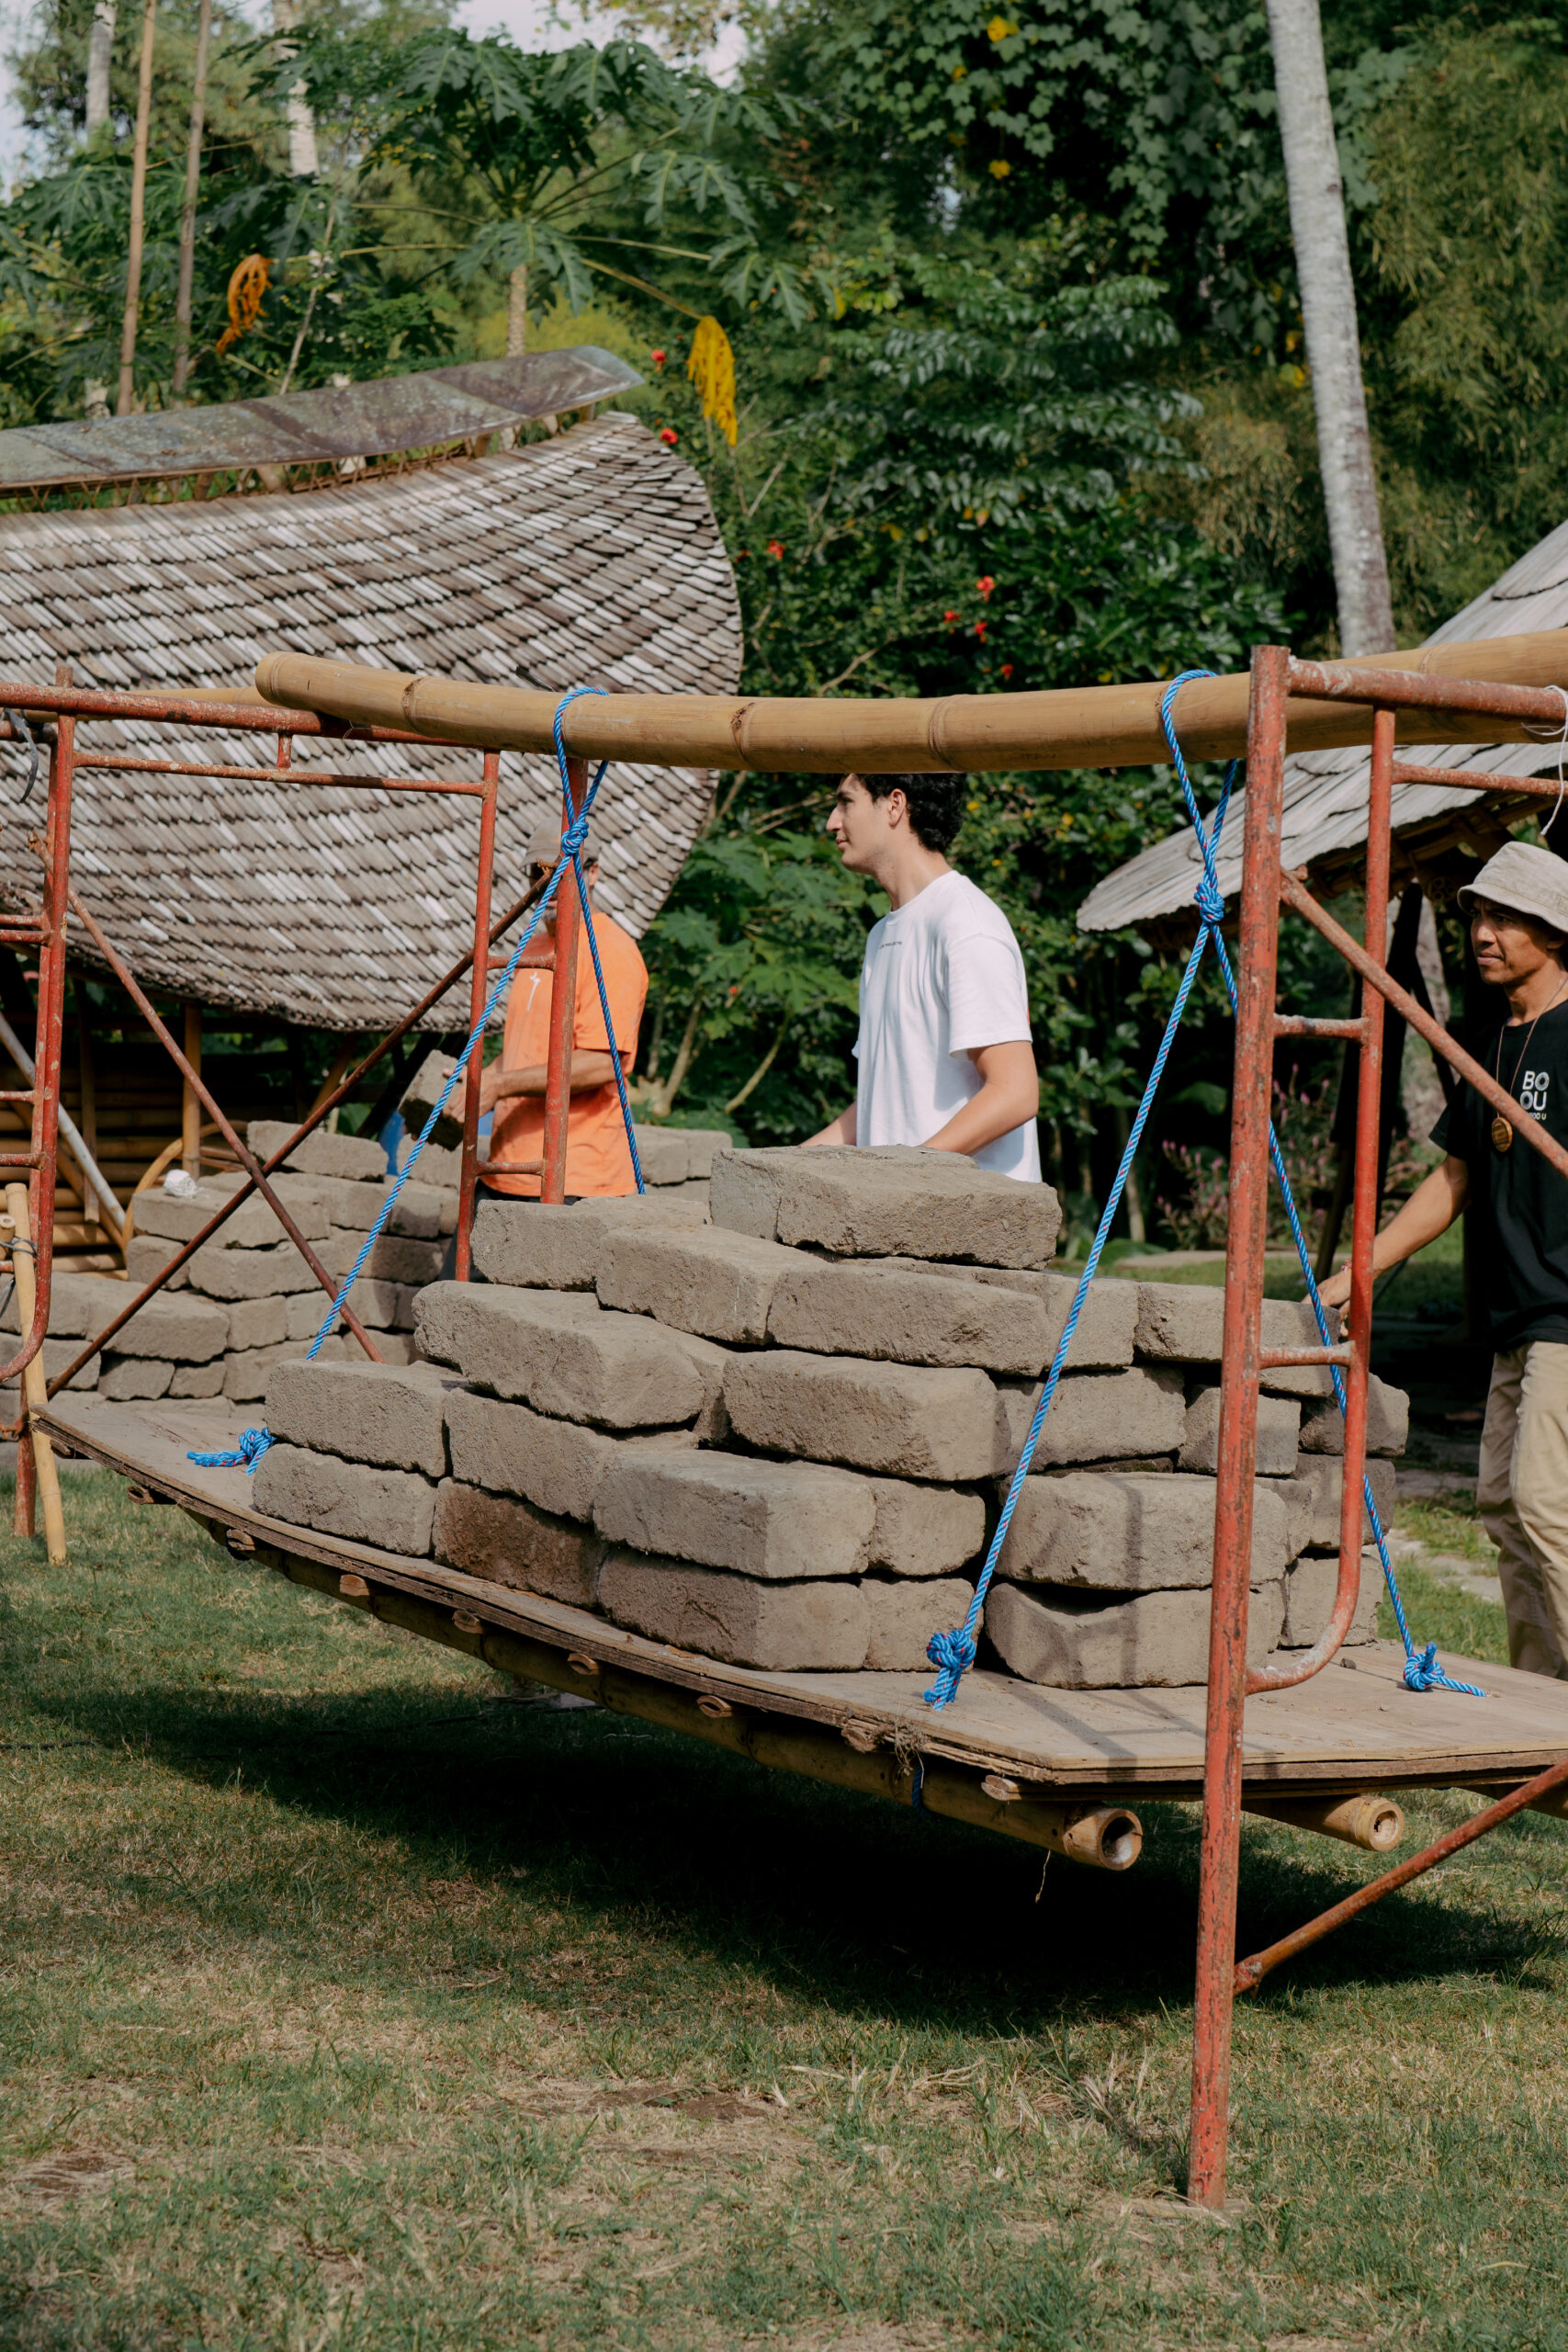
Once the foundation points are fixed properly, then cast your foundations and raised footings using reinforced cement concrete.
If stone cappings are used over the raised footings as a moisture barrier, use a water pass to find the right level of all the footings with stone capping by adjusting the reference thread to the required height. Then adjust each stone capping over the footings to the levels right.
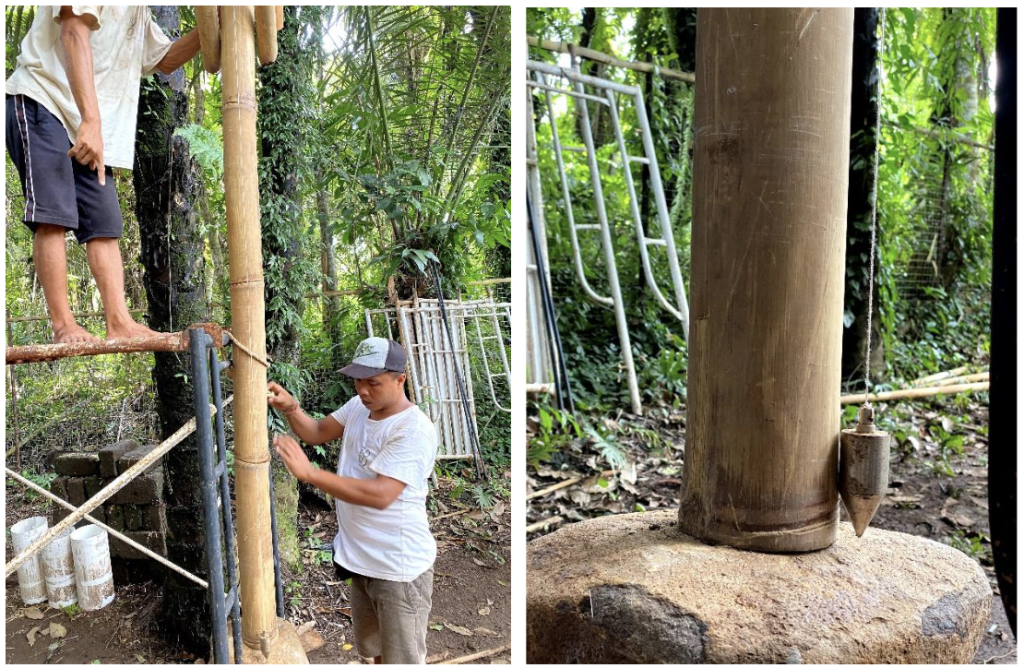
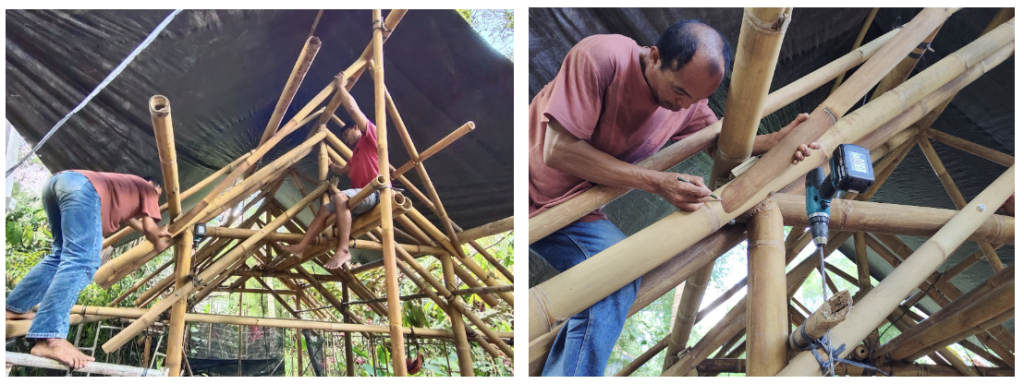
2. Ensure that the main posts for the structure are positioned at the angles detailed in the design using the reference of design measurements and a plumb bob. If this step is not done right, there is a high chance of the building being off-center.
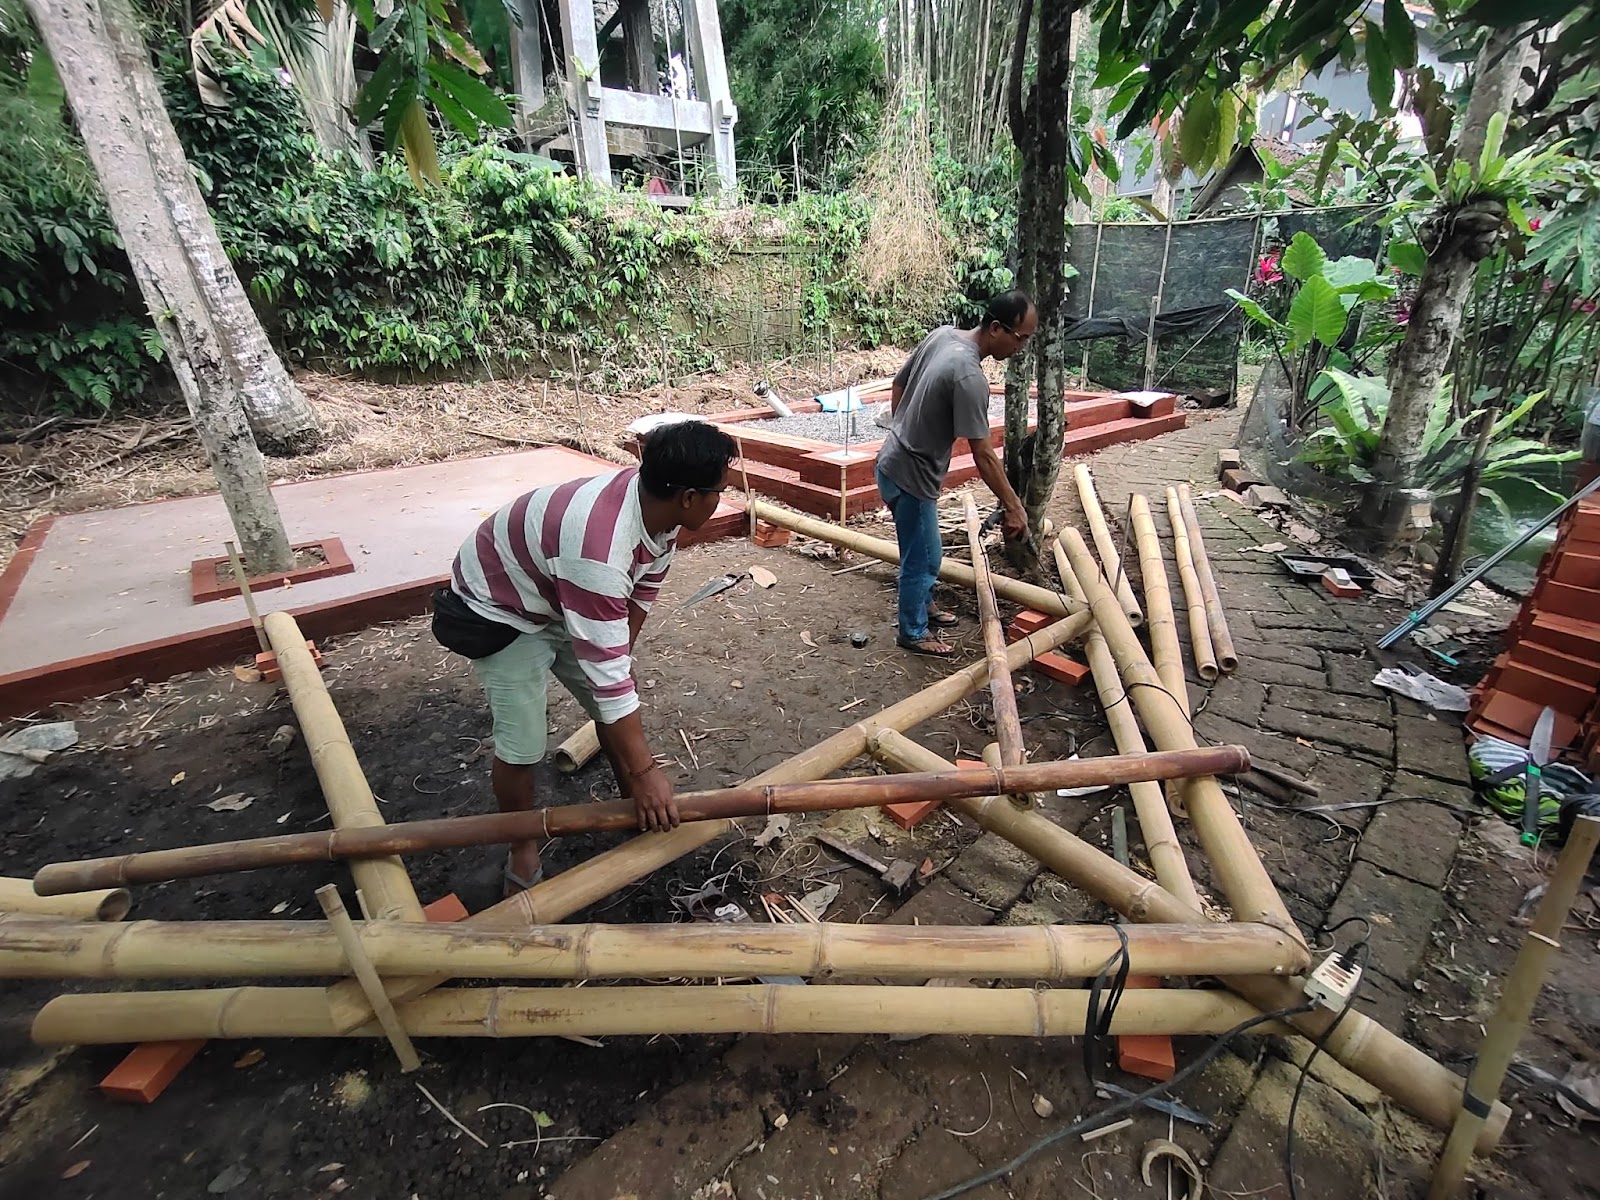
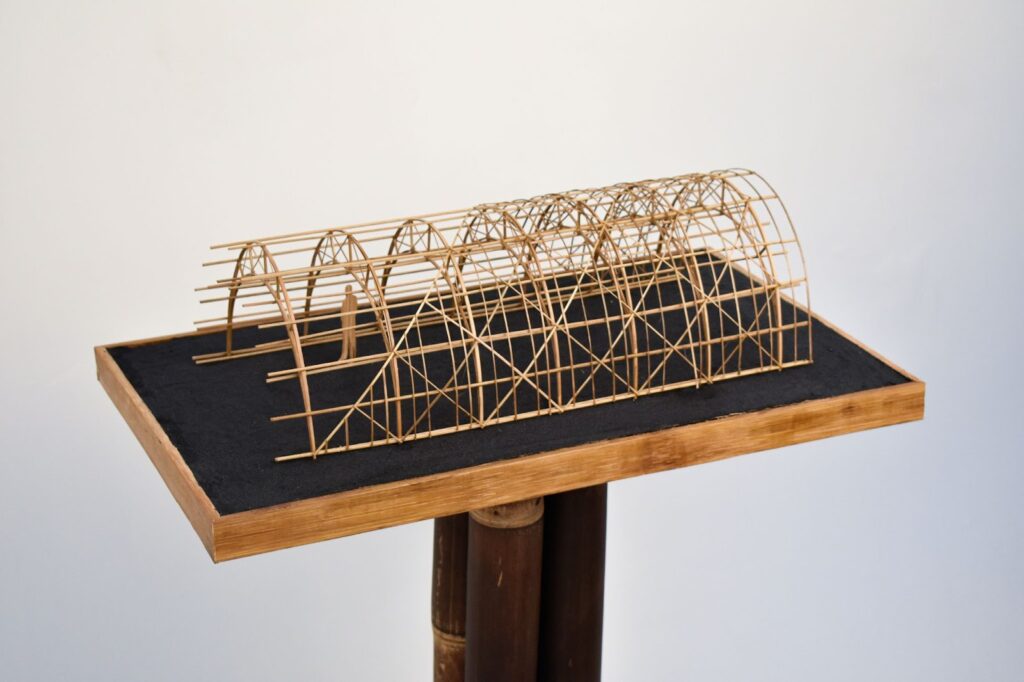
If the design makes use of repetitive structural frames, the easiest way to ensure the main structure is level is to build all the structural frames on the ground using a template system and lift them manually, with a pulley or crane into place.
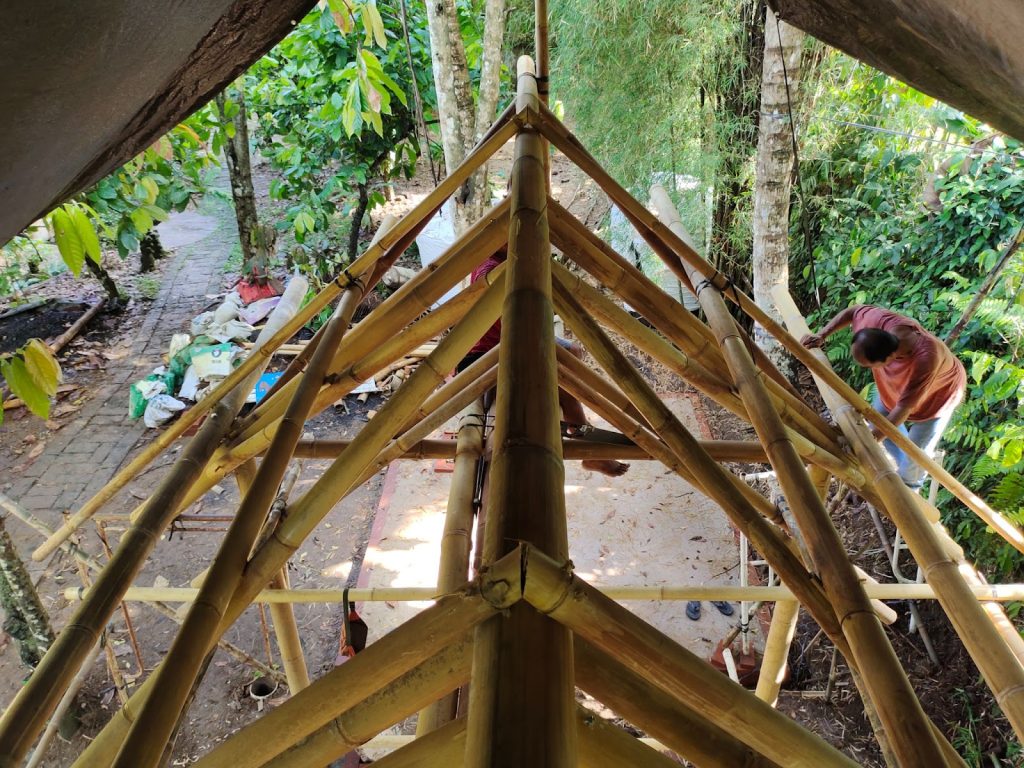
3. Add the ridge beam, and put the tie beams in place with temporary fasteners to hold structural frames together and diagonal struts to support the roof structure.
4. It is required to find the balance between the ridge beam and tie beams to get all the rafters on the same level. The best way to do this is to add the rafters at the corners and midpoint of the roof structure before fastening the tie beams, this helps to balance the tie beams concerning the ridge beam.
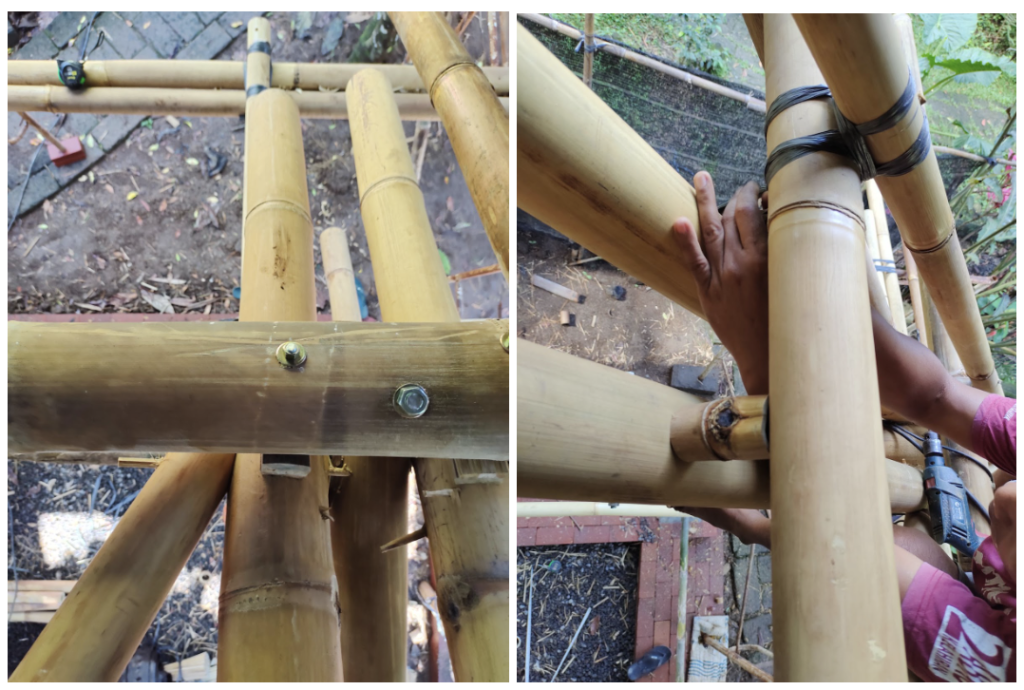
5. Wherever necessary, use bamboo spacers to adjust the bamboo poles to get the levels balanced.
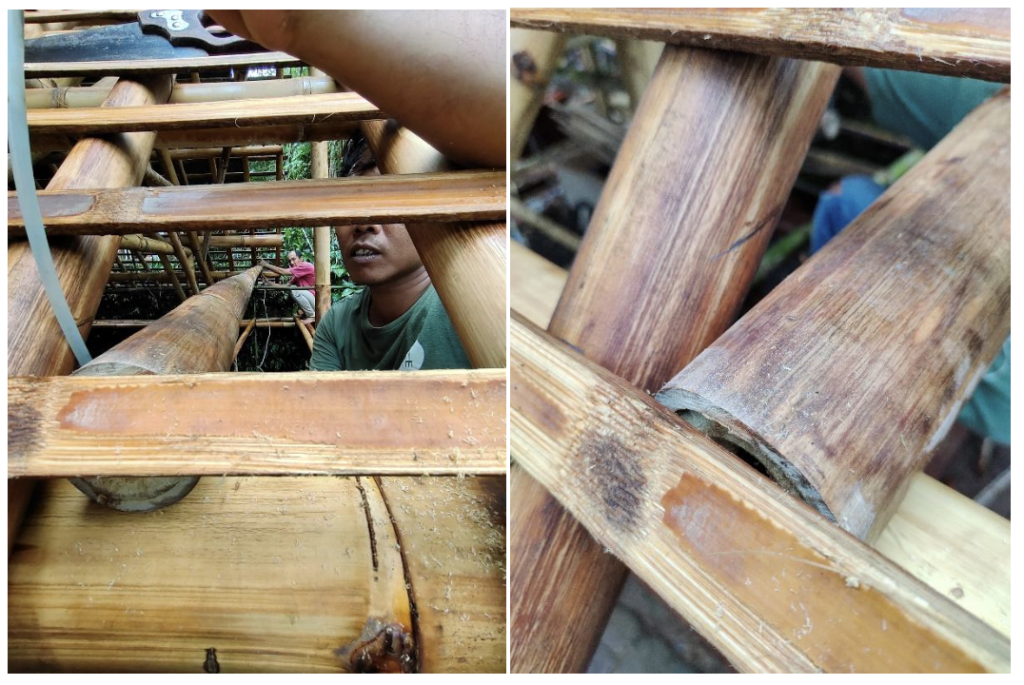
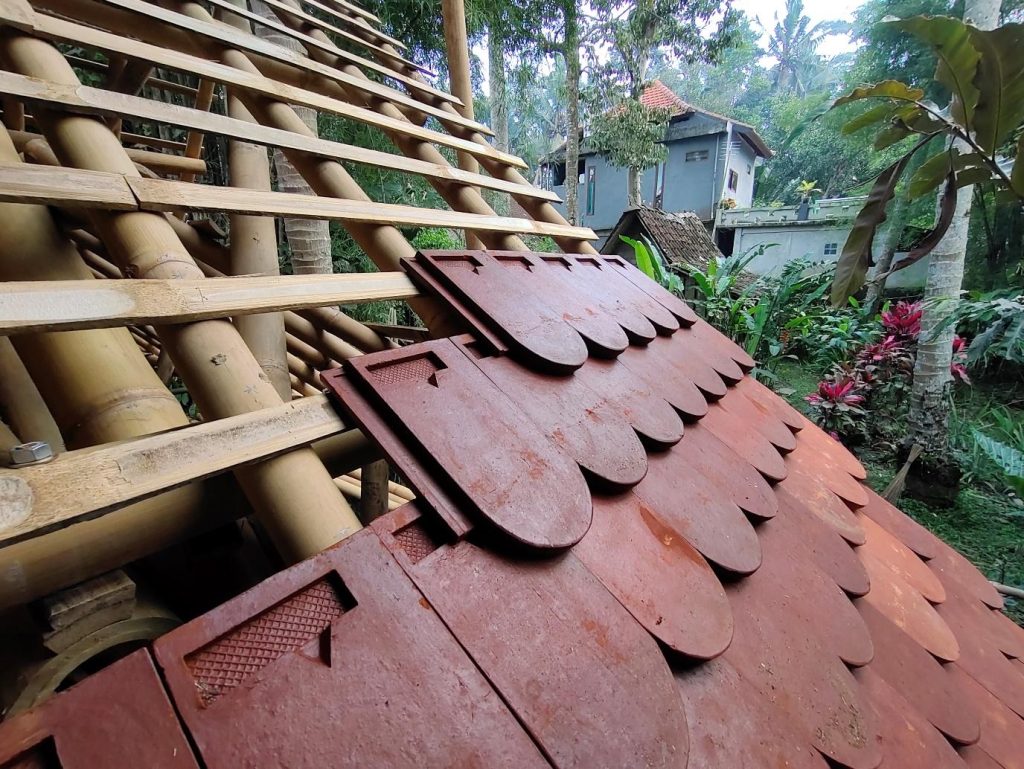
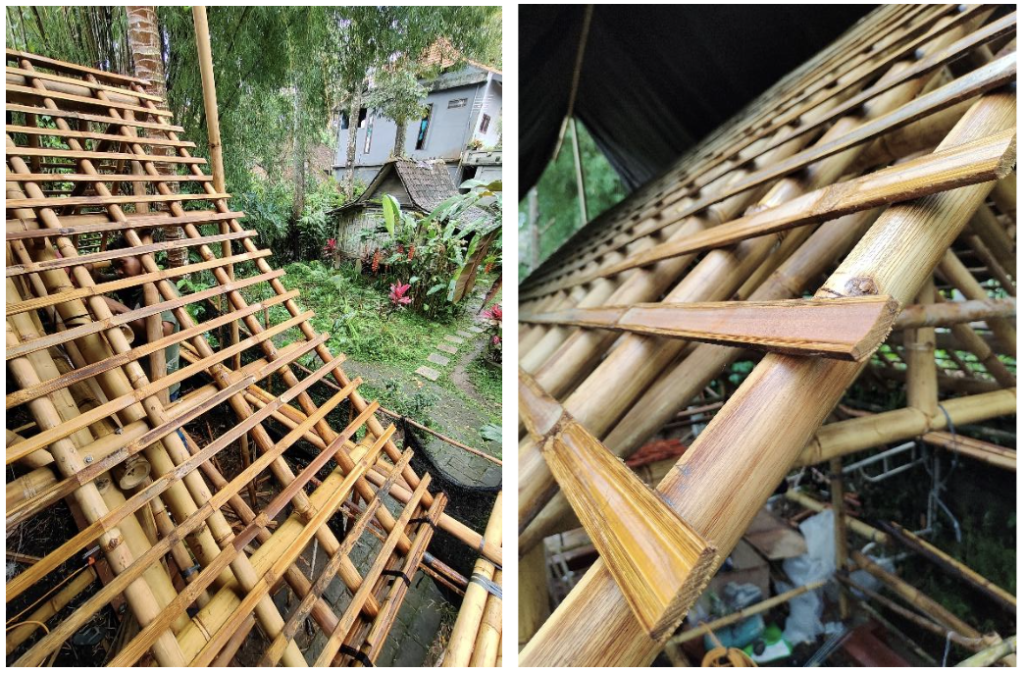
6. The next step is to add all the rafters and then the roof eave & battens which help to hold the roof tiles securely over the roof structure. There are many different types of clay tiles available in the market, while placing battens it is important to consider the dimensions of the clay tile type that you are using for the roof.
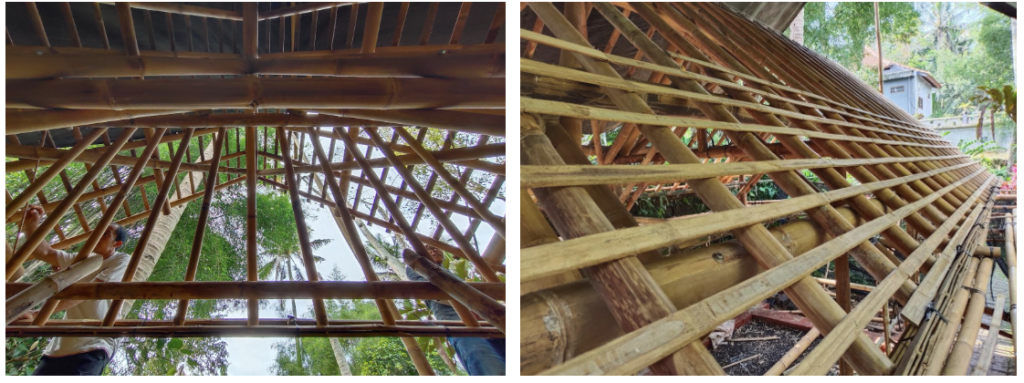
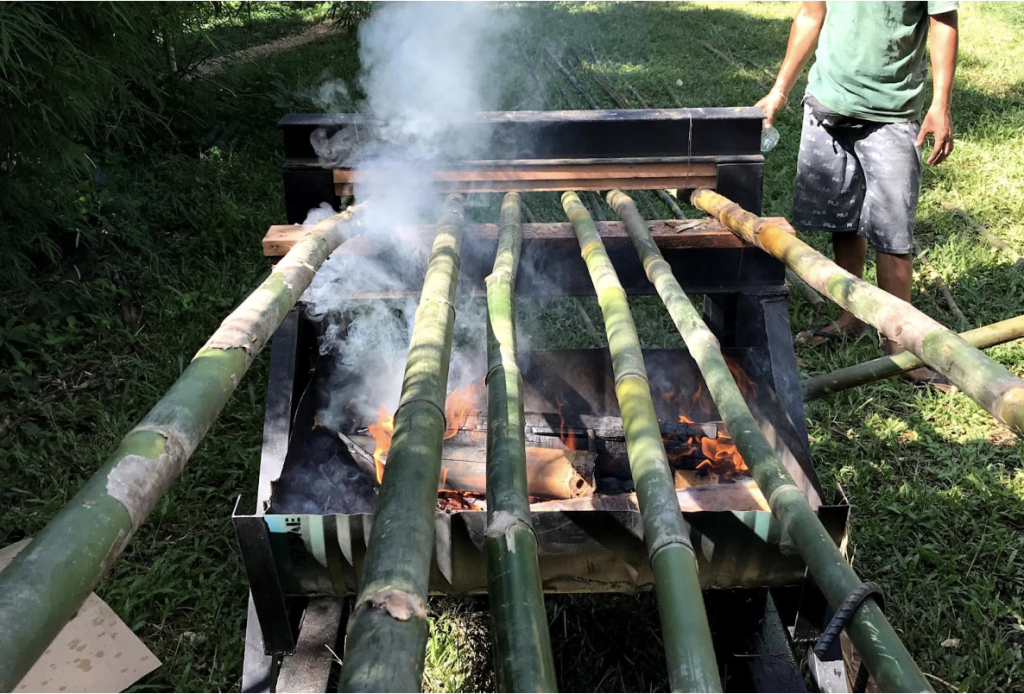
The best way to get the batten levels right is to use planed bamboo splits to get rid of the internal curve of the bamboo pole and uneven edges from the splits.
3. Tile Installation
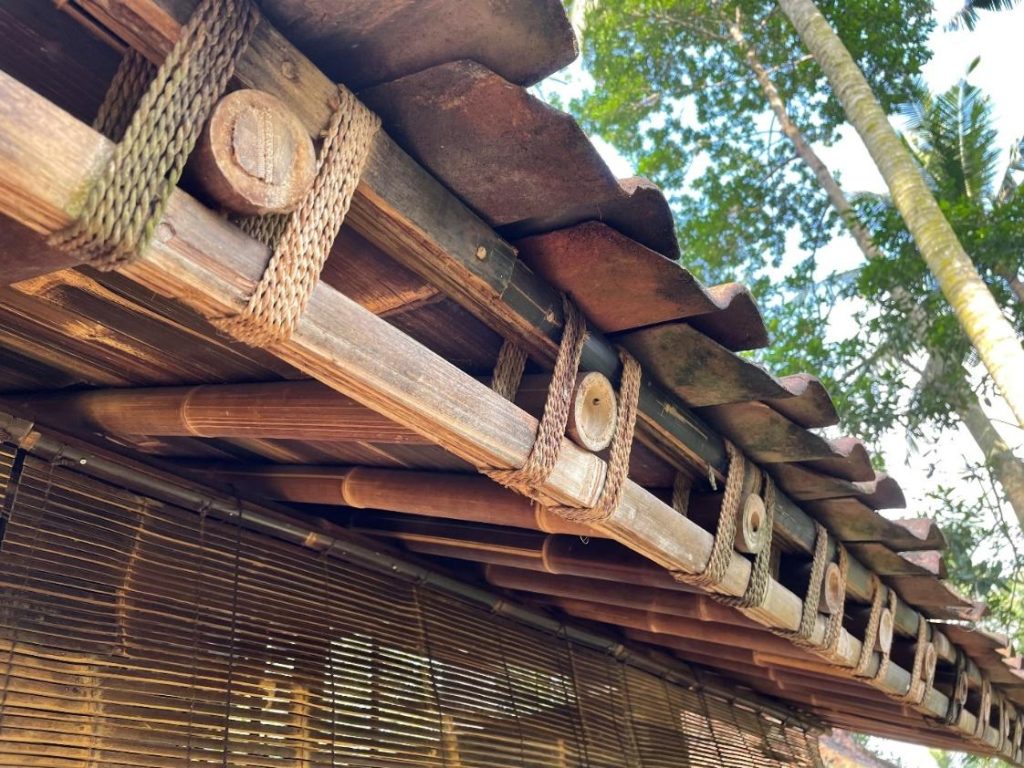
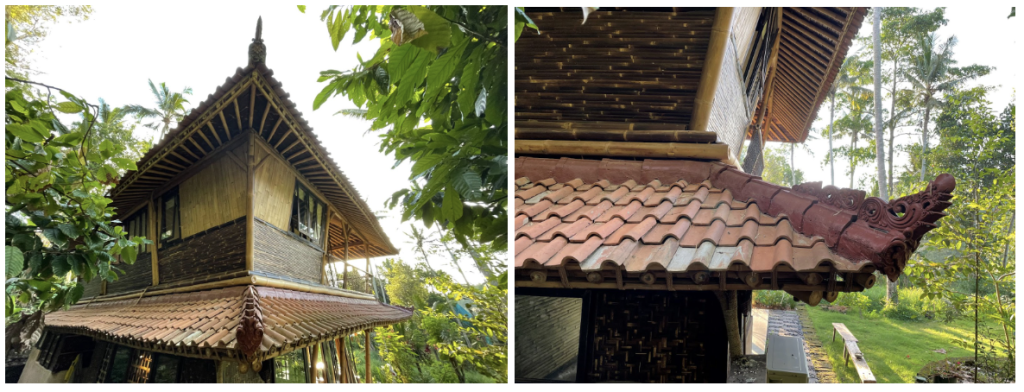
The installation method for all types of clay tiles is similar, the main idea is to overlap the tiles, and avoid gaps that cause leaks.
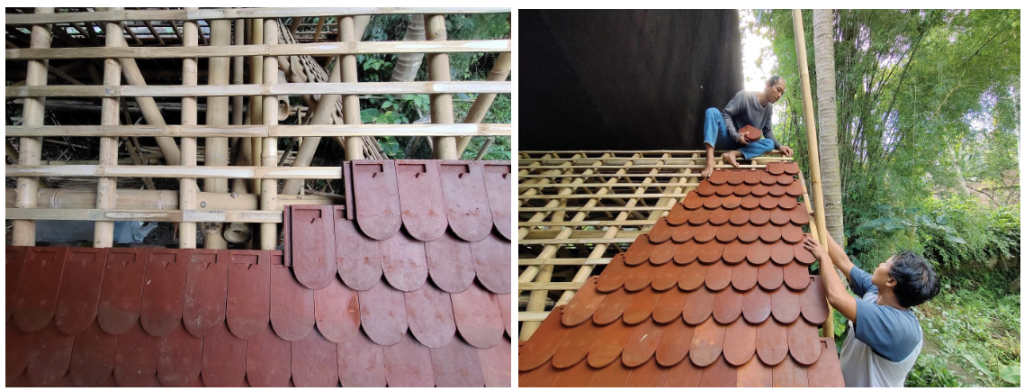
Start placing the tiles from the bottom, the first tile needs to be placed from an end corner of the roof over the batten and roof eave projecting at least 5 cm outwards to protect the roof eave from the rain.
The next tile needs to be placed in the same row overlapping the first one. After placing all the tiles in the first row, the next set of tiles needs to be placed in the above columns creating a triangle from the eave line to the ridge. This way it helps to know that all the tiles in every row can exactly fit on the roof.
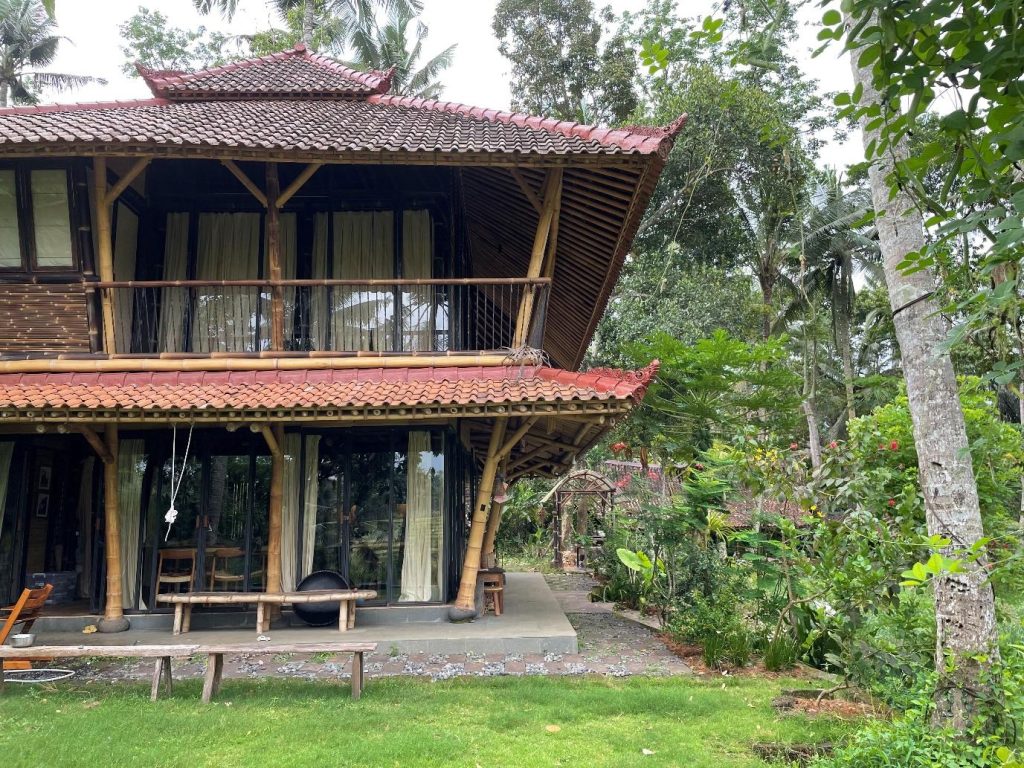
The same pattern is followed on the other sides of the roof. Once all the tiles are in place, now it is time to install ridge tiles, which help to seal the corner connections of the roof structure and the ridges. It is always advisable to seal the key tiles/ridge tiles with cement mortar or lime mortar to make sure no water leaks.
If the process is not followed properly to install a tile roof then it damages the main structure's structural integrity and causes water leaks during the rain events. So, all the steps right from design to construction execution are crucial to installing a clay tile roof for a bamboo structure.
During the Bamboo Online Immersion, we speak more about roofing materials for bamboo structures. Consider joining to learn more: http://www.bamboou.com/online-immersion


The 11-Day Build & Design Course
In collaboration with IBUKU
Immersed in the most beautiful and innovative bamboo environment. Meet the pioneers, the visionaries, the designers and builders who took this under-utilized material and transformed it into the most desired natural building material for bamboo structure design.
The Intro to Bamboo Engineering Online Course
Designed specially for structural engineers, this FREE online course has been created in collaboration with the Base Bahay Foundation, based in the Philippines.Join the course to learn how bamboo's innate properties make it a versatile building material, and how these properties can be maximized and applied in structural design.