The Building of Green Camp’s Cob Pizza oven
By | March 26, 2021 | Bamboo U Built Projects -
At Bamboo U we are experimenting and building with more than just bamboo. We believe in using all kinds of natural materials. As a part of the development of Green Camp’s new location, we built a Cob pizza oven with a bamboo roofed structure in May 2020.
Making of cob oven
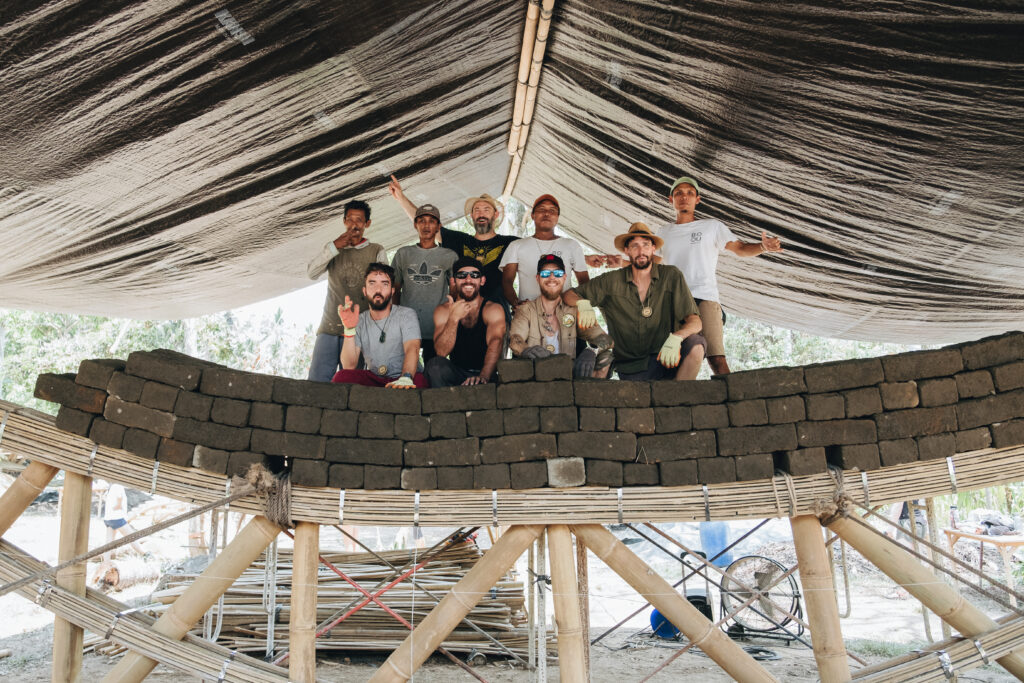
We started with making a dry stone foundation by compacting stone debris and gravel. Then, we raised the oven base structure using random rubble masonry. Each piece of stone needs to be selected following its shape and put into place to lock in tightly with the other stone elements. To help secure the base we filled in the gaps between the stones with mud mortar.

Pizza ovens are designed to retain heat and radiate it over an even cooking area. To retain the maximum heat you need good insulating layers underneath the base, that is why the middle volume of the oven’s base is filled with the soil that has been compacted using wooden rammers and also a layer of reused empty glass bottles. Glass bottles are made of silica which is the primary constituent of sand, which has a high resistance to heat and can help with insulation. These glass bottles are covered by sand and leveled to the wall height.
The base of the cooking area in the oven needs to be a flat surface where pizzas are placed to be baked. This top layer is made of tightly placed flat burnt bricks. Since some of our bricks were uneven, we sealed the gaps using a lime paste.

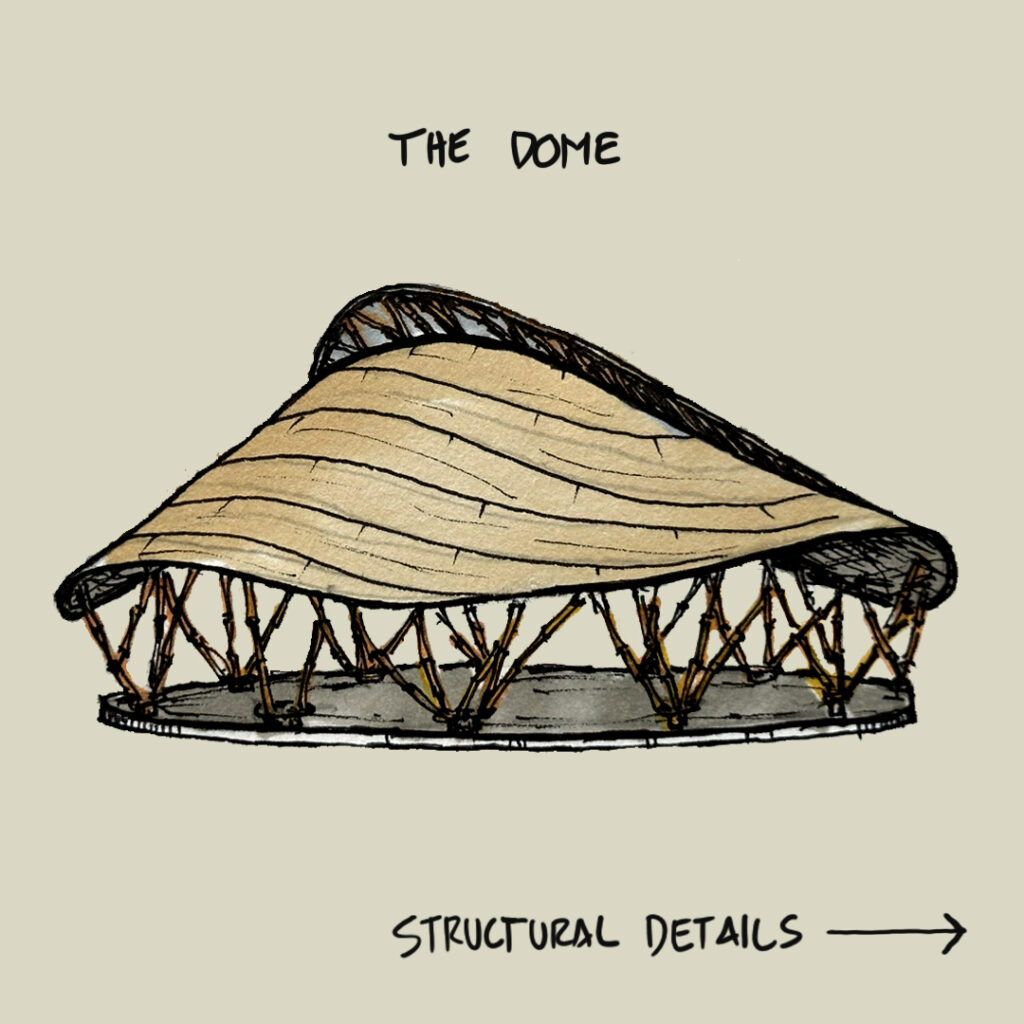
To control the flow of heat we designed the dome in proportion to the diameter of the base. The center height of the dome is 75% of the base diameter and the height of the door opening is 63% of the dome height, so that smoke can easily escape from the top edge of the door opening.

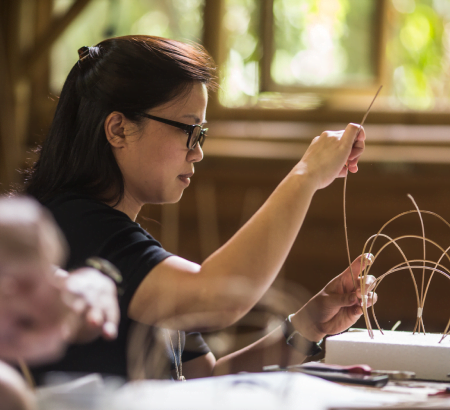
Once the base was ready we made the formwork for the oven dome. We made our template using bamboo stips known here as ‘lidis’ and placed them on the top of the oven’s base. The formwork is built using sand similar to how we build a sandcastle. We built a solid sand dome, which is later removed once the dome is built and secure.
During this process, we were also busy making cob so that once the sand dome was built, we could start building the dome immediately. Cob is a mixture of clay, sand, straw, and water, mixed manually with our hands and feet. To have a good quality of Cob it is suggestable to have 20-30% clay and 70-80% sand depending on the soil available locally.
In building an oven dome we need to have a thermal mass layer and a thermal insulation layer to hold good heat for baking. So the first layer( thermal mass) of cob mixture consists only of clay, sand, and water. Whereas the second layer (thermal insulation) of the cob mixture consists of clay, sand, straw, and water. The straw acts as an insulation material. We also added bamboo lidis between the two layers which acts as fibers and helps to avoid structural cracks of the oven dome.

Once the oven was built, we cut the door opening and pulled out the sand, molded the opening with cob, and made a beautiful teak wood door for the oven. This door shape is achieved by using the catenary arch technique. The catenary arch is a type of architectural arch that follows an inverted catenary curve. Catenary arches are strong because they redirect the vertical force of gravity into compression forces pressing along the arch's curve. This has been employed in buildings since ancient times.

Making of bamboo structure
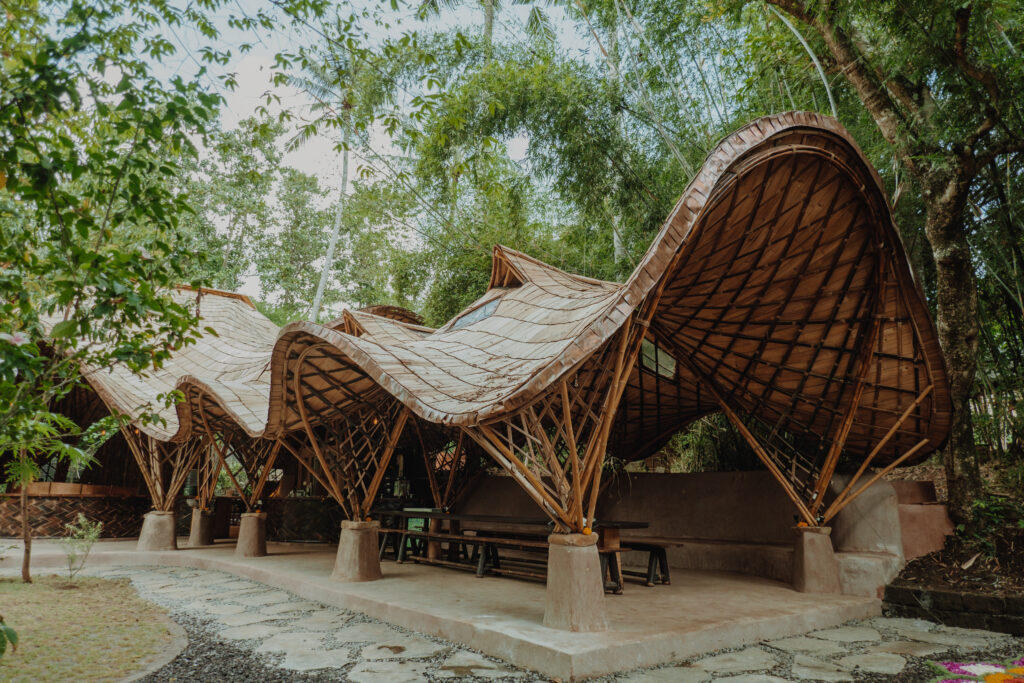
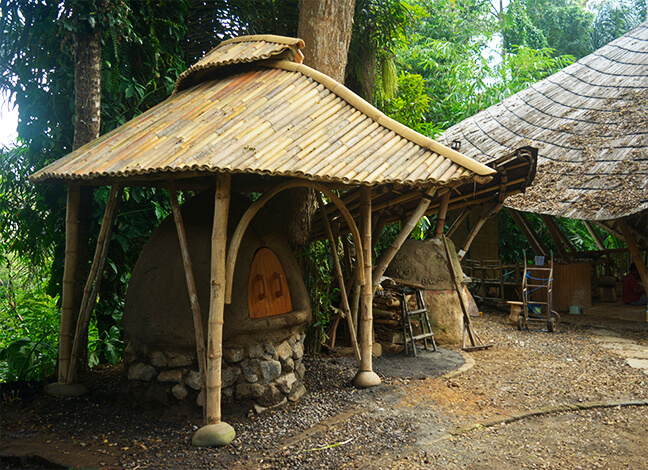
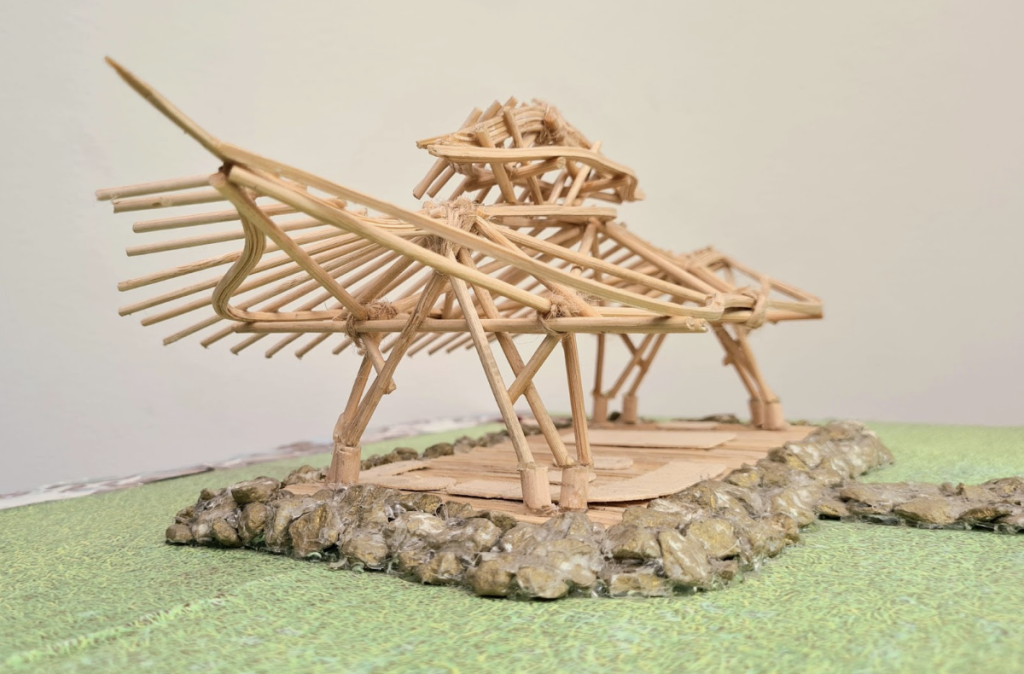
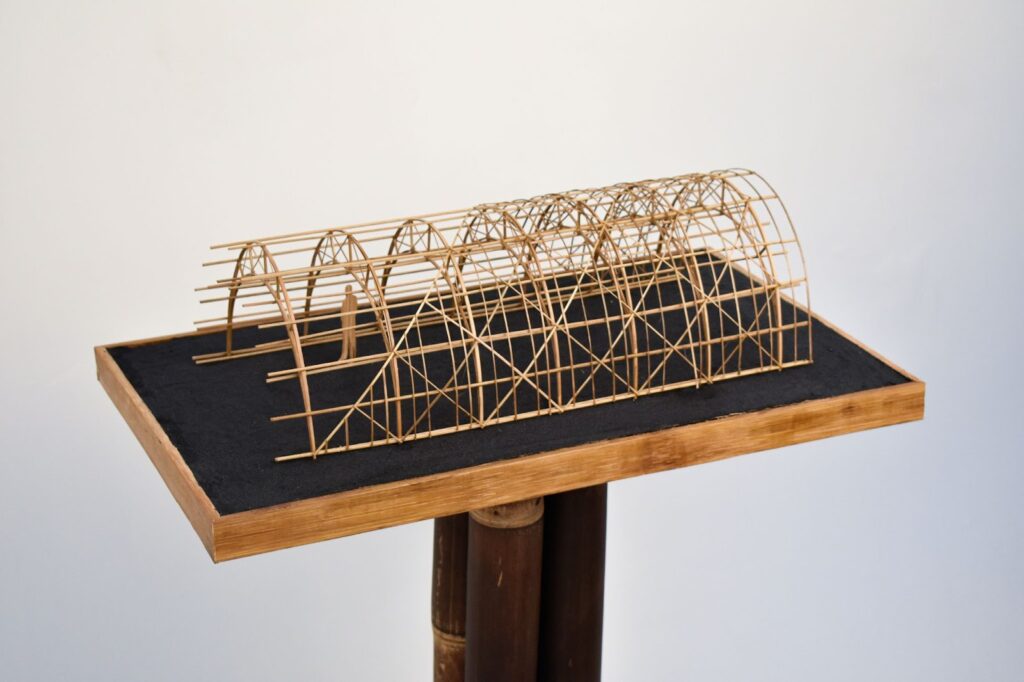
When you are building with material like mud it is better to avoid extra dampness and for durable natural buildings, the basic rule is to have a good foundation and a good roof. Here in Bali, we witness a lot of heavy rains in the monsoon season. The bamboo structure is designed to protect the oven. The bamboo structure is a post and beam system with a beautiful curvilinear roof, in harmony with the oven shape and the site surroundings.
For the oven structure, we have made foundations for the structure and added beautiful river stones over the foundations to avoid the bamboo columns having direct contact with the ground.
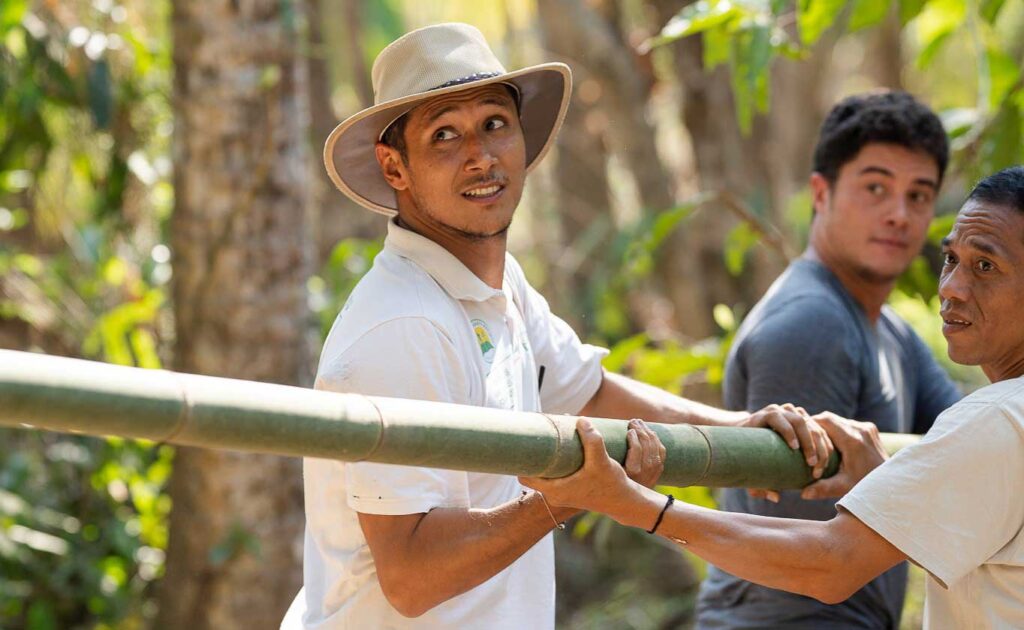
We selected Bambusa Blumeana locally known as Bambu Duri poles of different diameters for columns, beams, and cross bracings. Thyrsostachys Siamensis locally known as Bambu Jakarta for the ridge beam and arch cross-bracing between the front columns of the structure. Gigantochloa Atroviolacea locally known as Bambu Tali Hitam for the trusses and rafters. An untreated Gigantochloa Apus locally known as Bambu Tali for the roofing. If you want to learn more about the bamboo species we use please check out this post "The 7 Bamboo Species We Use the Most".
We started building the structure on the ground, we put the beams in place, and interlocked the four beam poles by half-cut bamboo sections at the corners of the poles at the point where the columns support the beam frame. To rest the beam frame on columns we made ‘double fish mouth’ joinery. Take a look at this article if you want to learn more about how to make the fish mouth.
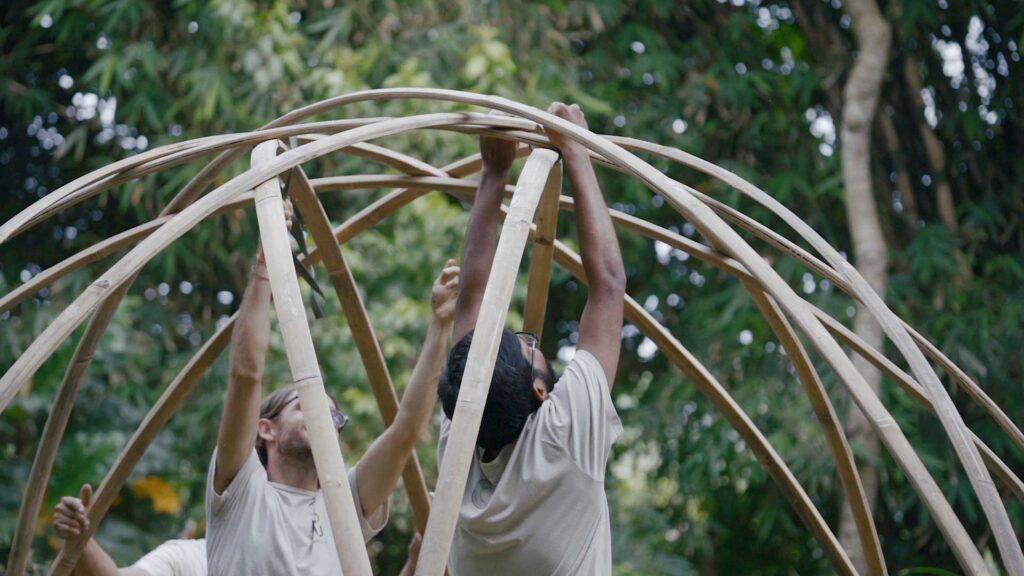
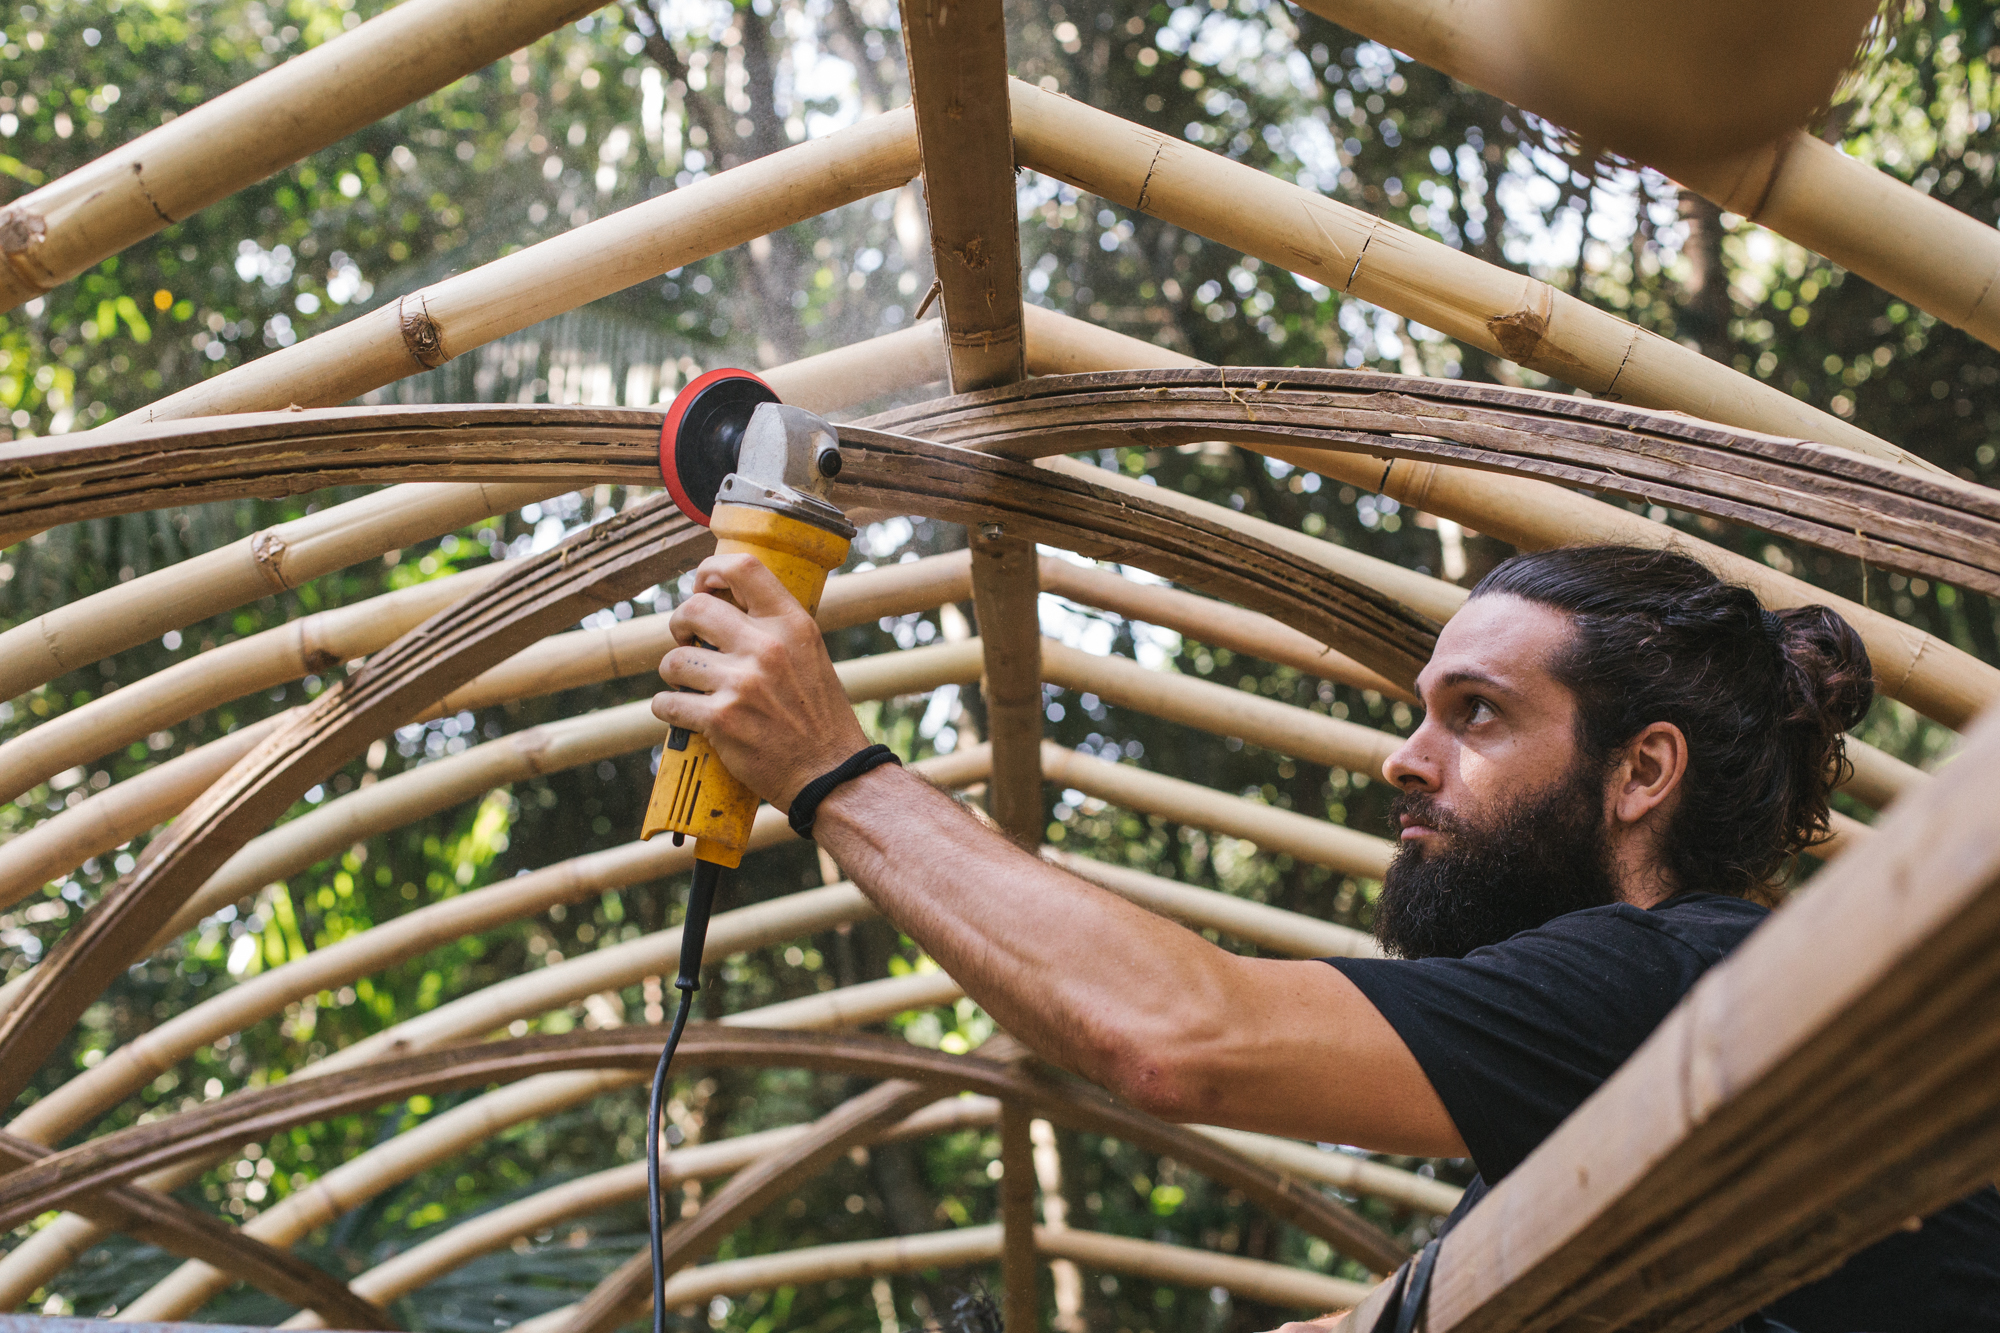
To achieve a curvilinear roof shape we added a Lidi bundle, lidis are long and thin bamboo splits, ring beam over the frame according to the design. Then we created a curved ridge beam using the Rup-Rup technique, which involves incrementally cutting slices in the bamboo so it can bend. The bamboo lidis are added over it as structural reinforcement. Then we started adding the truss members and rafters. Truss is a web of triangle framework to support and distribute the load of the roof.

Once the roof structure was built, we lifted it up and rested it over the bamboo columns, and trimmed a bit of rafter wherever necessary because the oven is closely surrounded by trees. We added the cross bracings on the sides to make our structure stable. In the front, we added an arch for aesthetics, which also acts as cross-bracing.
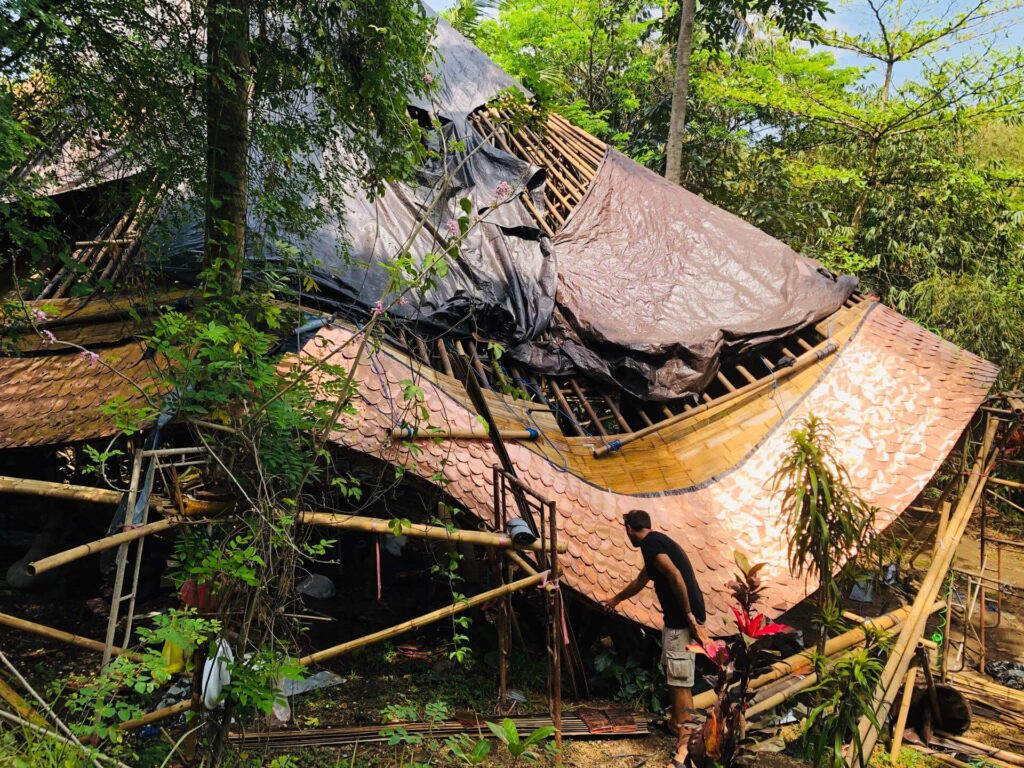
Once the roof structure was fixed we started the first layer of the roof with repurposed Zinc metal sheets. We also made a vent at the top to allow hot air to escape. To cover the zinc we used bamboo poles split in half with the nodes removed and cut to the required sizes. The half bamboo poles were then placed in an interlocking way to form the external roof layer.

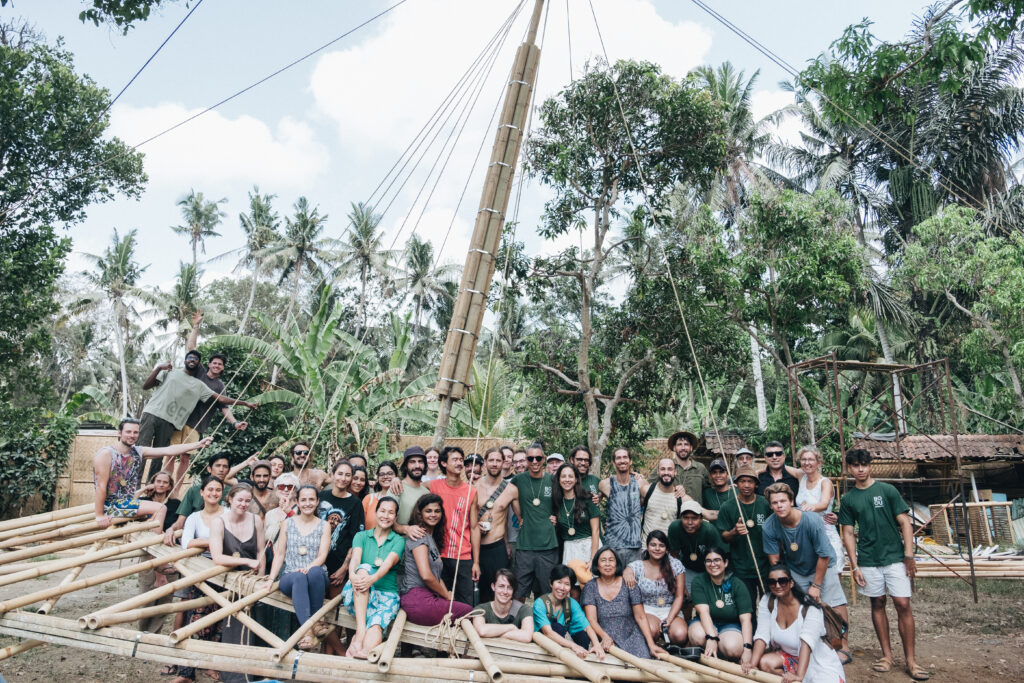
It took a lot of hard work to build such a beautiful and detailed small structure. However, the flexibility of bamboo and mud gave us the ability to make a lot of onsite decisions to achieve what we needed within our timeline. If you would like to learn more about Bamboo structures and natural building techniques, come join us in the next Bamboo U 11-Day Design and Build Immersion Course!


OCTOBER 10-21, 2025
The 11 Day Bamboo Build & Design Course in Bali
In 11 days, we'll show you how to build bamboo structures we’ll share all that it takes to build with nature.

Start Anytime
The Bamboo Harvesting Course
The Bamboo Harvesting Course is an online step-by-step training to harvest and care for your bamboo clumps to ensure their longevity and productivity. This maximizes the potential of this beautiful grass as a rapidly renewable resource.Whether you are an architect, builder, or sustainability enthusiast, this mini course will enable you to utilize this rapidly regenerative resource as a durable construction material.It will help remove any fear or doubt about the durability of bamboo and help you build reputable bamboo structures that stand the test of time!